- Curious about how to curl hair with a flat iron? Us too.
- After a lot of trial and error, we finally figured it out.
- One editor shares an easy step-by-step to curl hair with a flat iron.
If I had to pick between leaving the house with a face full of makeup or my hair done, I’m picking hair, every single time. I love the process of styling my hair, and after years of practice, I think I’ve gotten pretty good at it. However, I recently found myself on a trip without any of my favorite hair-curling tools, and after panic-scrolling for a full 30 minutes on the internet looking for easy tutorials on how to curl hair with a flat iron, I finally found one that was foolproof.
I’ve used this trick quite a few times since my initial run, and it’s been a total game-changer, especially when it comes to traveling. Instead of bringing a straightener and a curling iron whenever I go on a trip, by using this tutorial, I can get away with just bringing my flat iron and can still have straight, wavy, or curly hair. If you’ve been trying to figure out an easy way to curl hair with a straightener, keep scrolling to see how I do it in five easy steps.
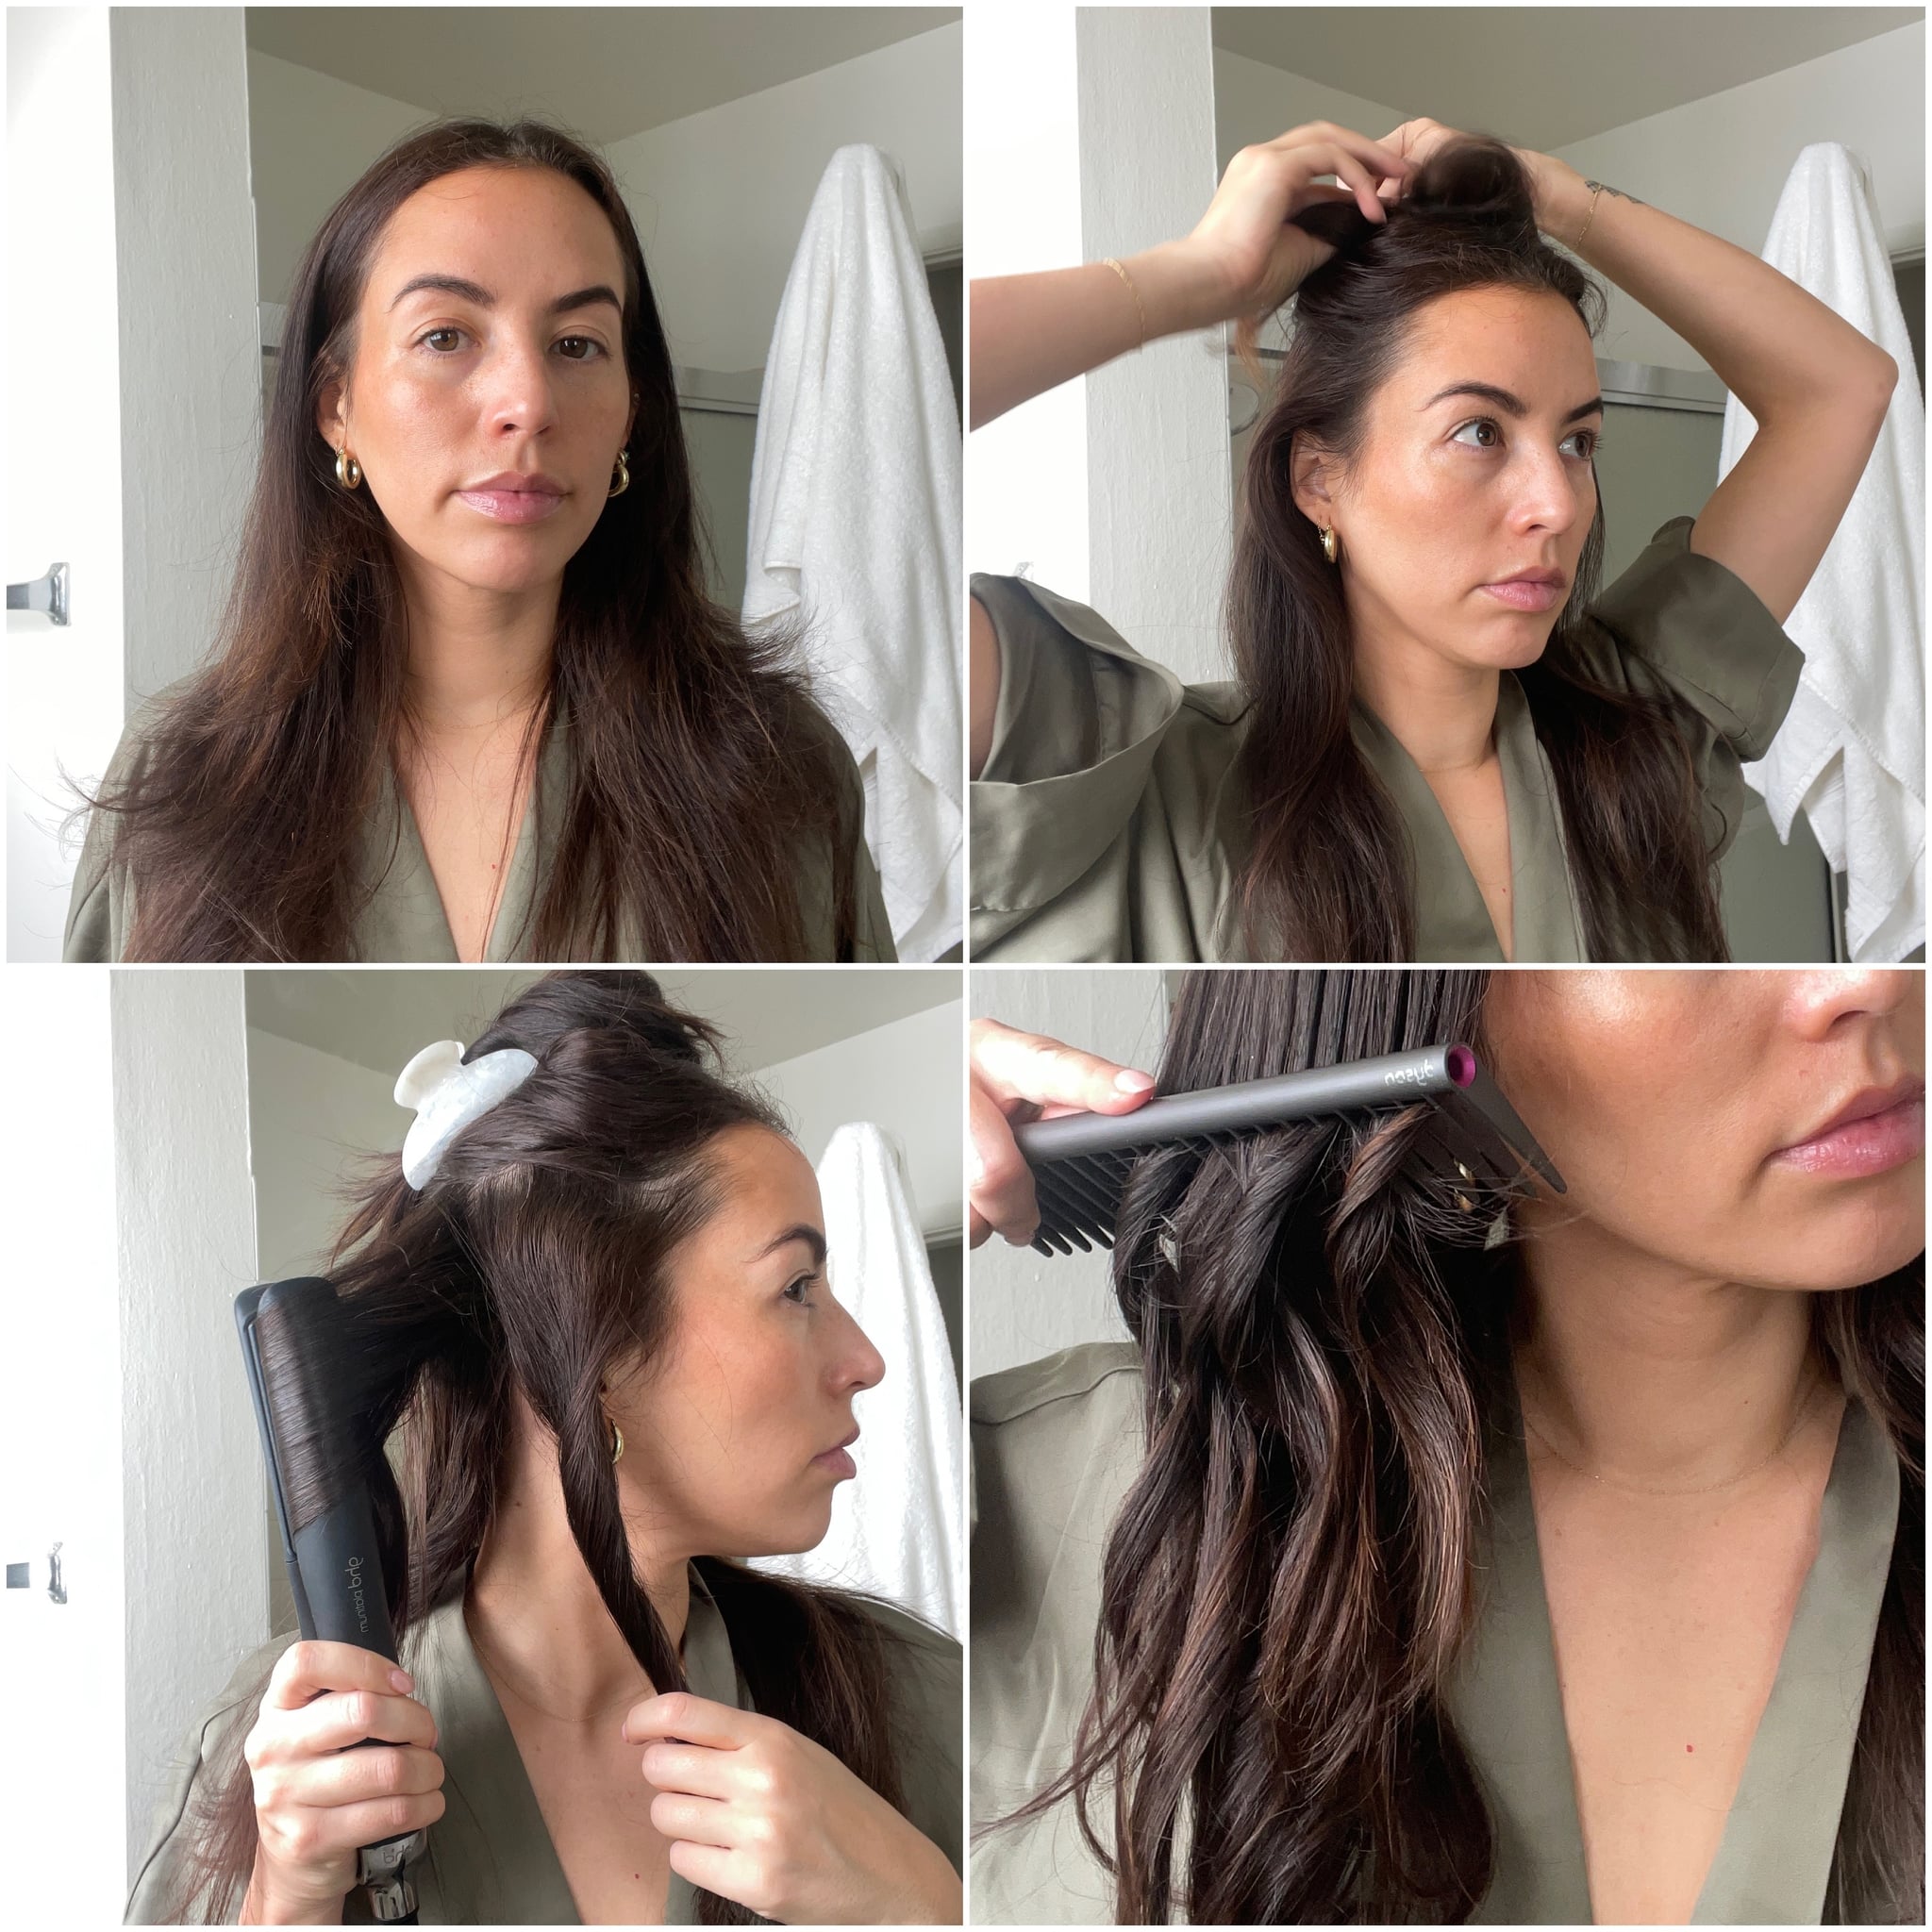
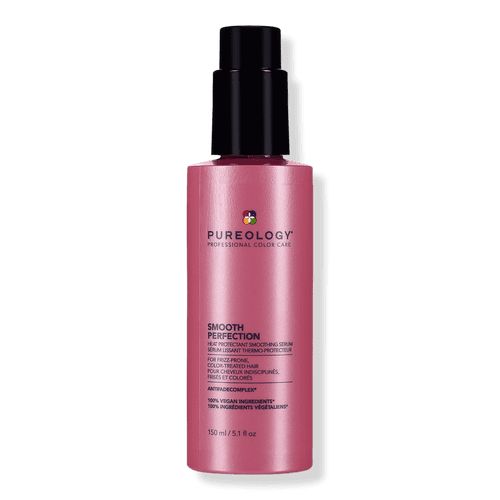
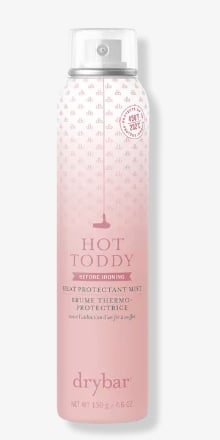
Step 1: Apply a Heat Protectant: If I’m starting with wet hair, I like to use the Pureology Smooth Perfection Heat Protectant Smoothing Serum ($31) because it smells great and leaves my hair feeling silky and smooth. If I’m styling dry hair, I always start with the Drybar Hot Toddy Heat Protectant Mist ($29) — it doesn’t leave any crunchy or sticky feeling behind. After applying some product, I always like to brush it through to make sure it’s distributed evenly.
Step 2: Divide Hair Into Sections: I typically divide my hair into three sections — top, middle, and bottom — but how you divide it all depends on your hair type and how much of it you have. I like to use a claw clip to hold the upper sections out of the way while I begin curling the bottom.
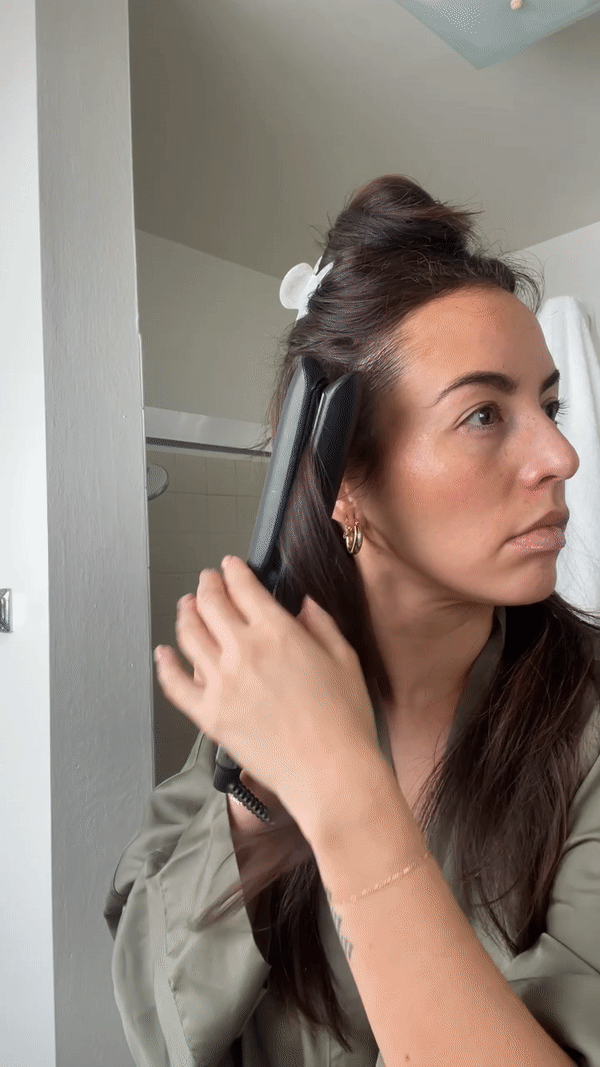
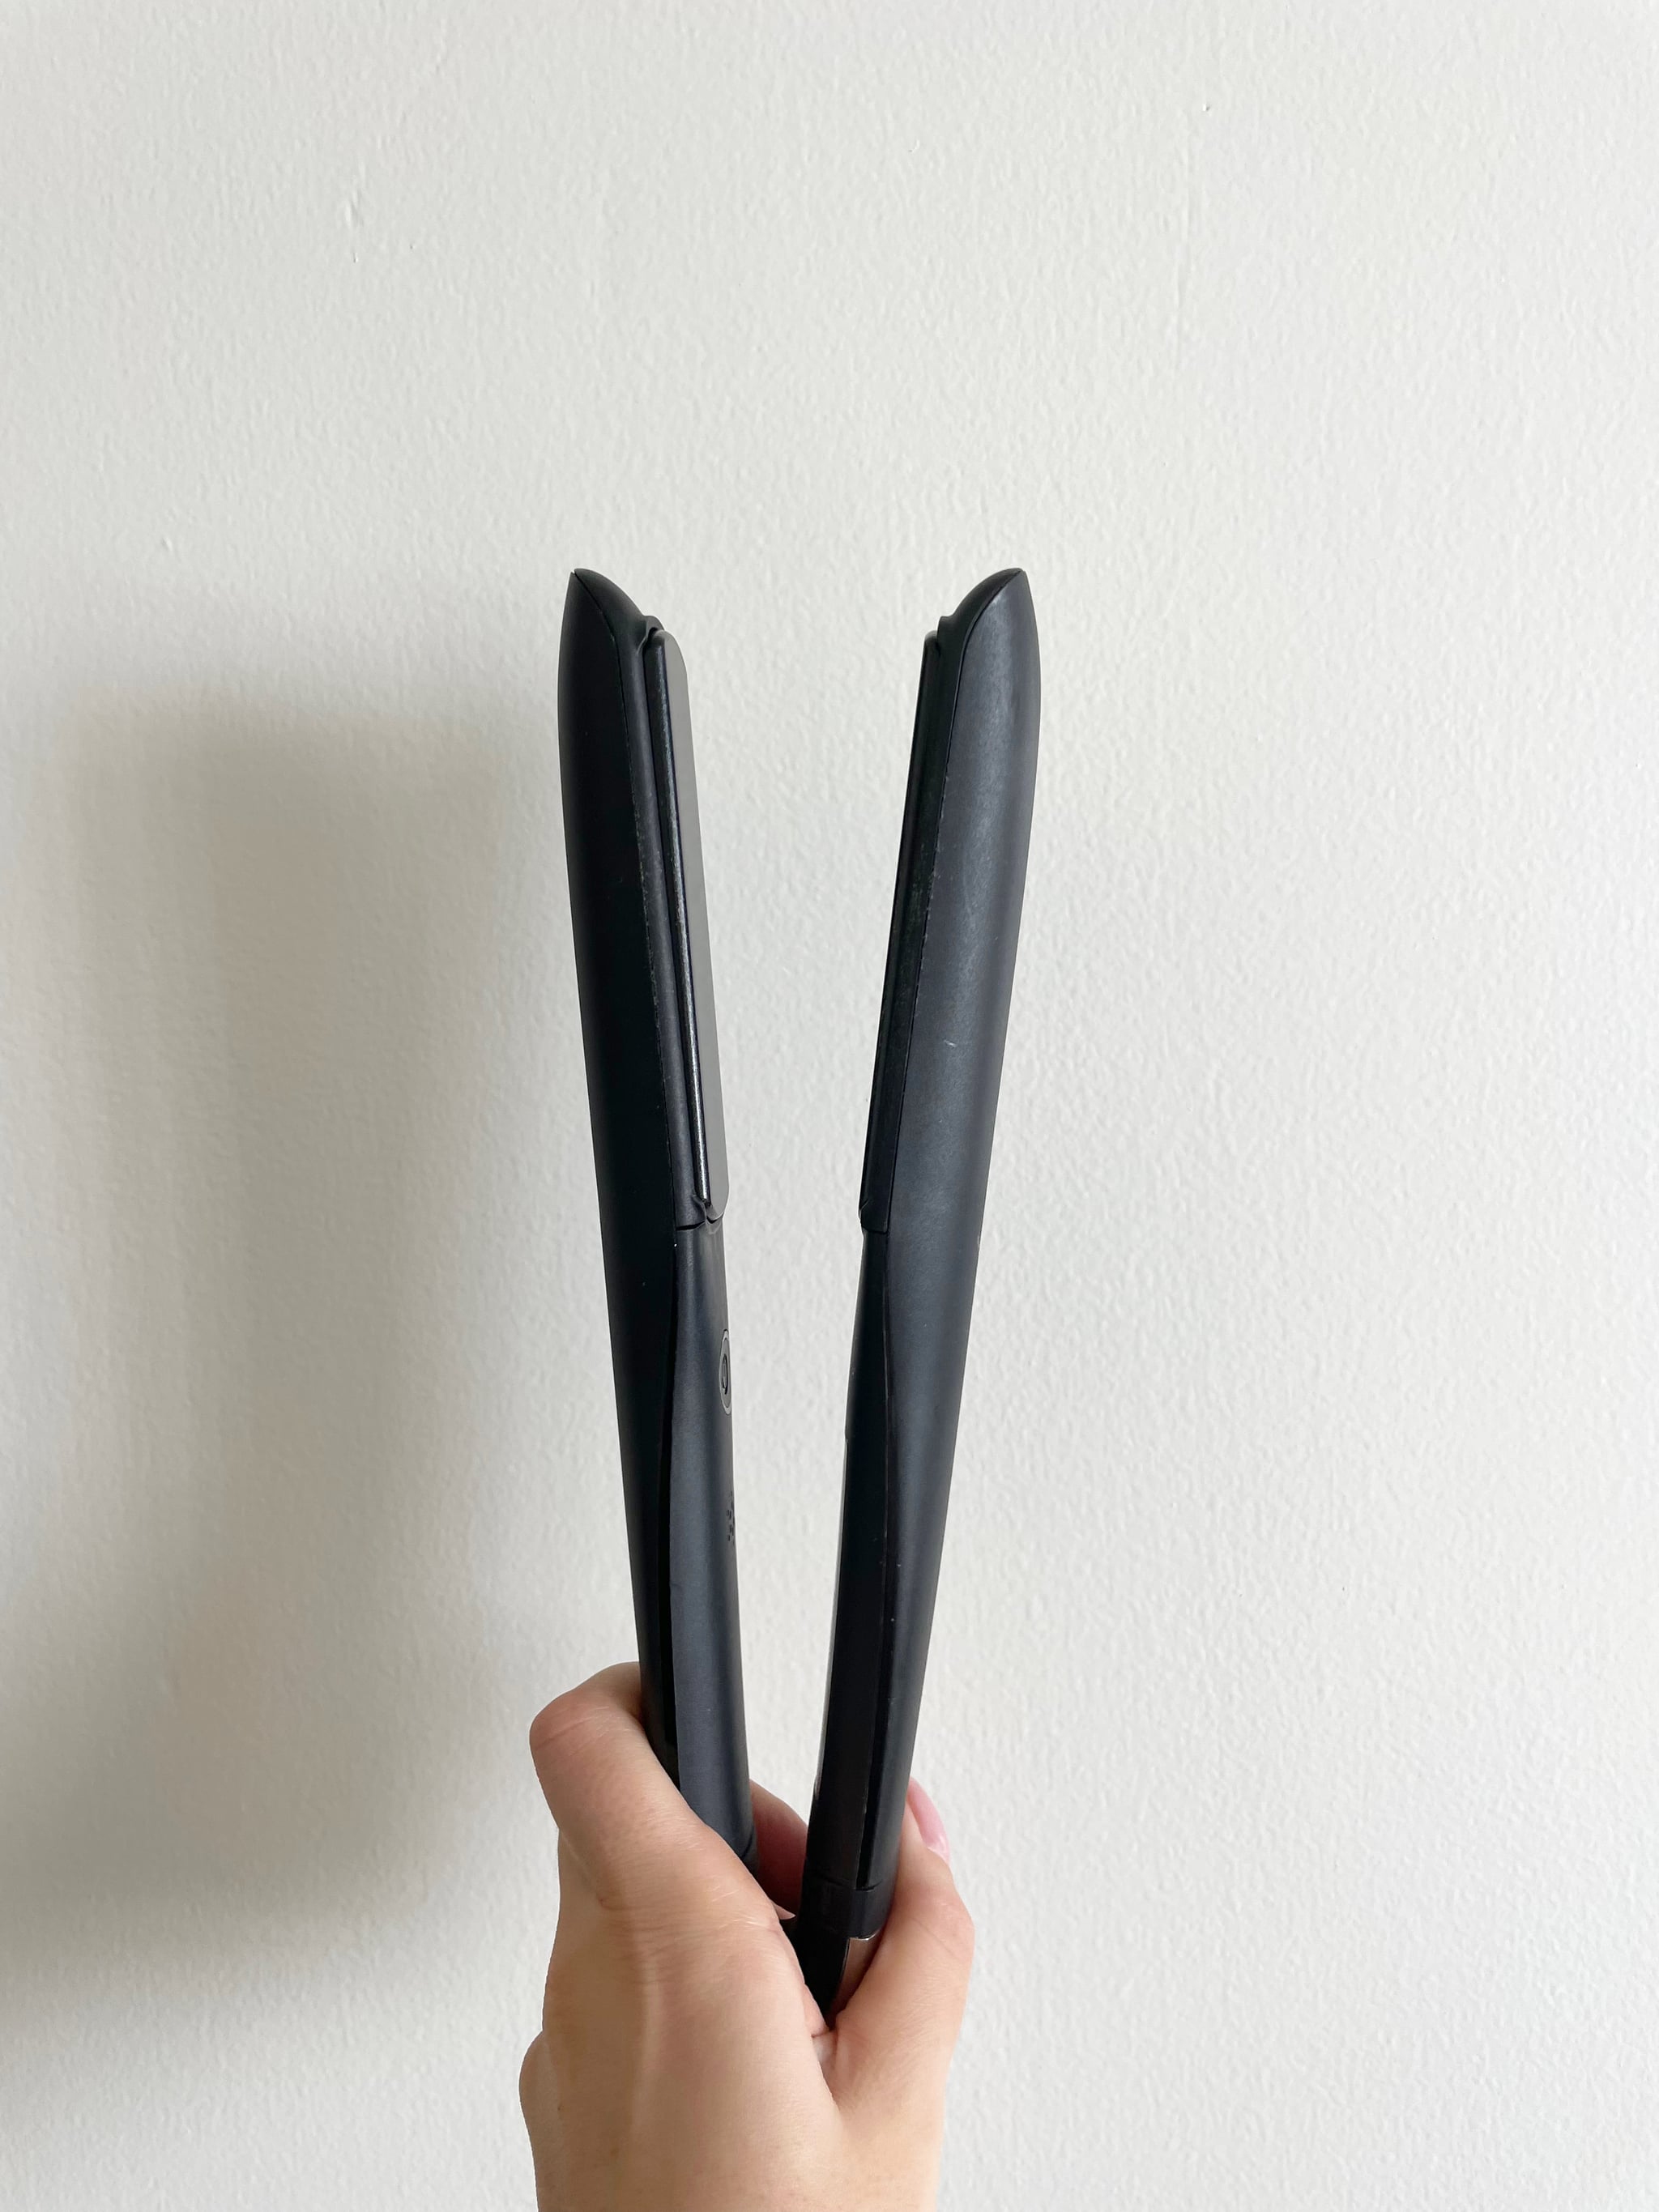
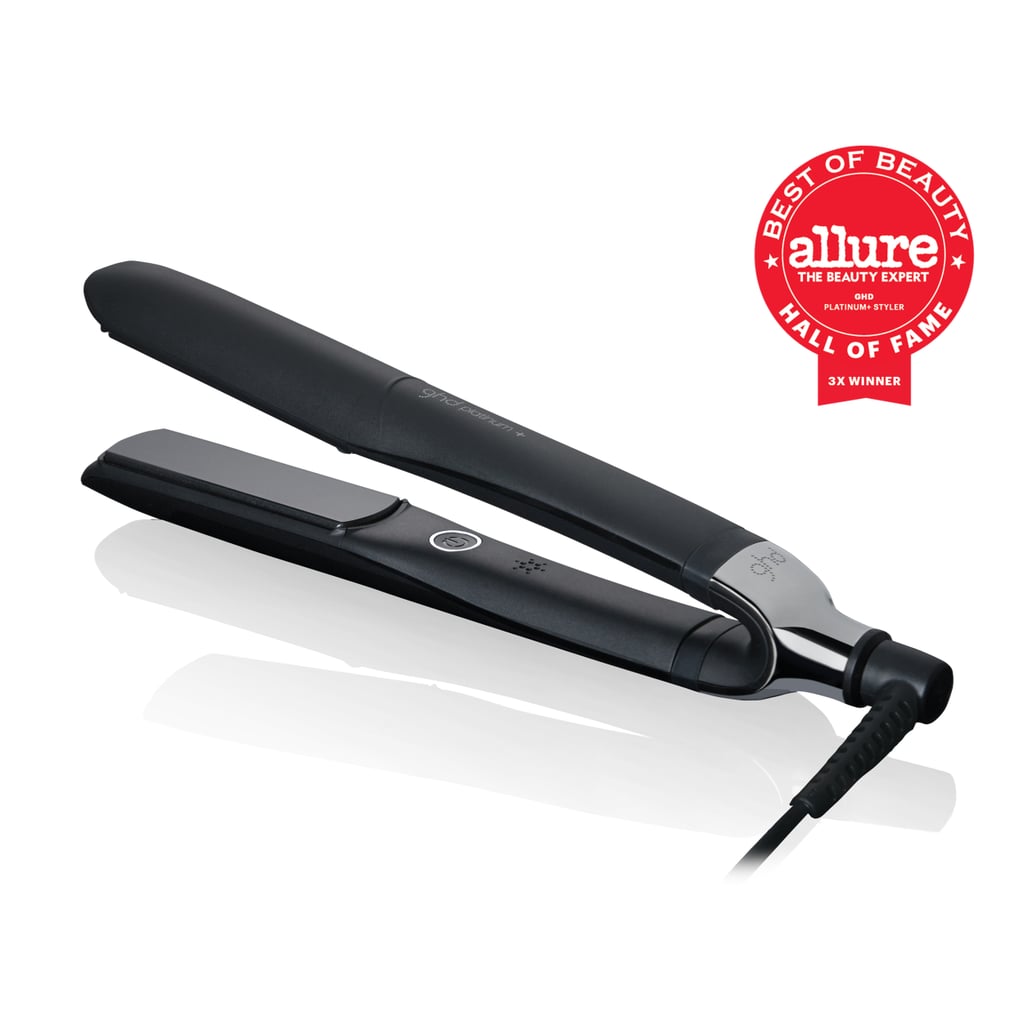
Step 3: Curl the Hair: There are a few different ways to do flat-iron curls, but I like to take the easiest route. I start by taking my straightener — the Ghd Platinum Styler 1in Flat Iron ($279) — and holding it vertically next to my head with the cord pointed down. Then, I take a one-inch section of hair and clamp the flat iron around the area closest to the root. From there, I flip the flat iron backward and away from my face and slowly drag the flat iron down the length of my hair. Through a lot of trial and error, I’ve learned that’s the best way to get tousled curls with a straightener.
Once I finish curling the bottom of my hair, I move on to the middle and the top sections. I take special care with the front pieces that frame my face, as they’re the most visible.
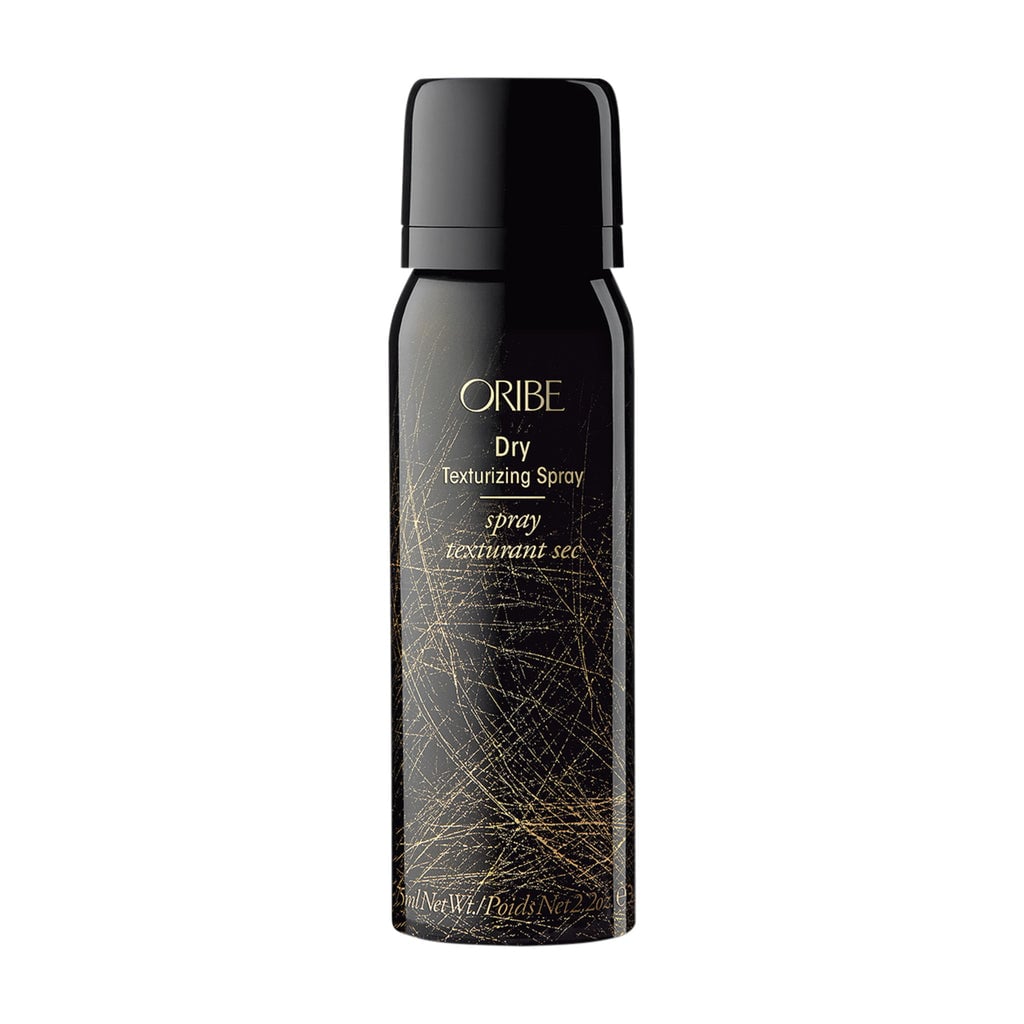
Step 4: Spray Hair With Hairspray or Texture Spray: To make sure my hair stays curled for hours, I always spray it with some hairspray, a texture spray, or both. Recently, my favorite combination has been the Oribe Dry Texturizing Spray ($49) and the Biotera Finishing Spritz ($8). I like to spritz my hair immediately after curling, then let it sit and cool for at least 15 minutes.
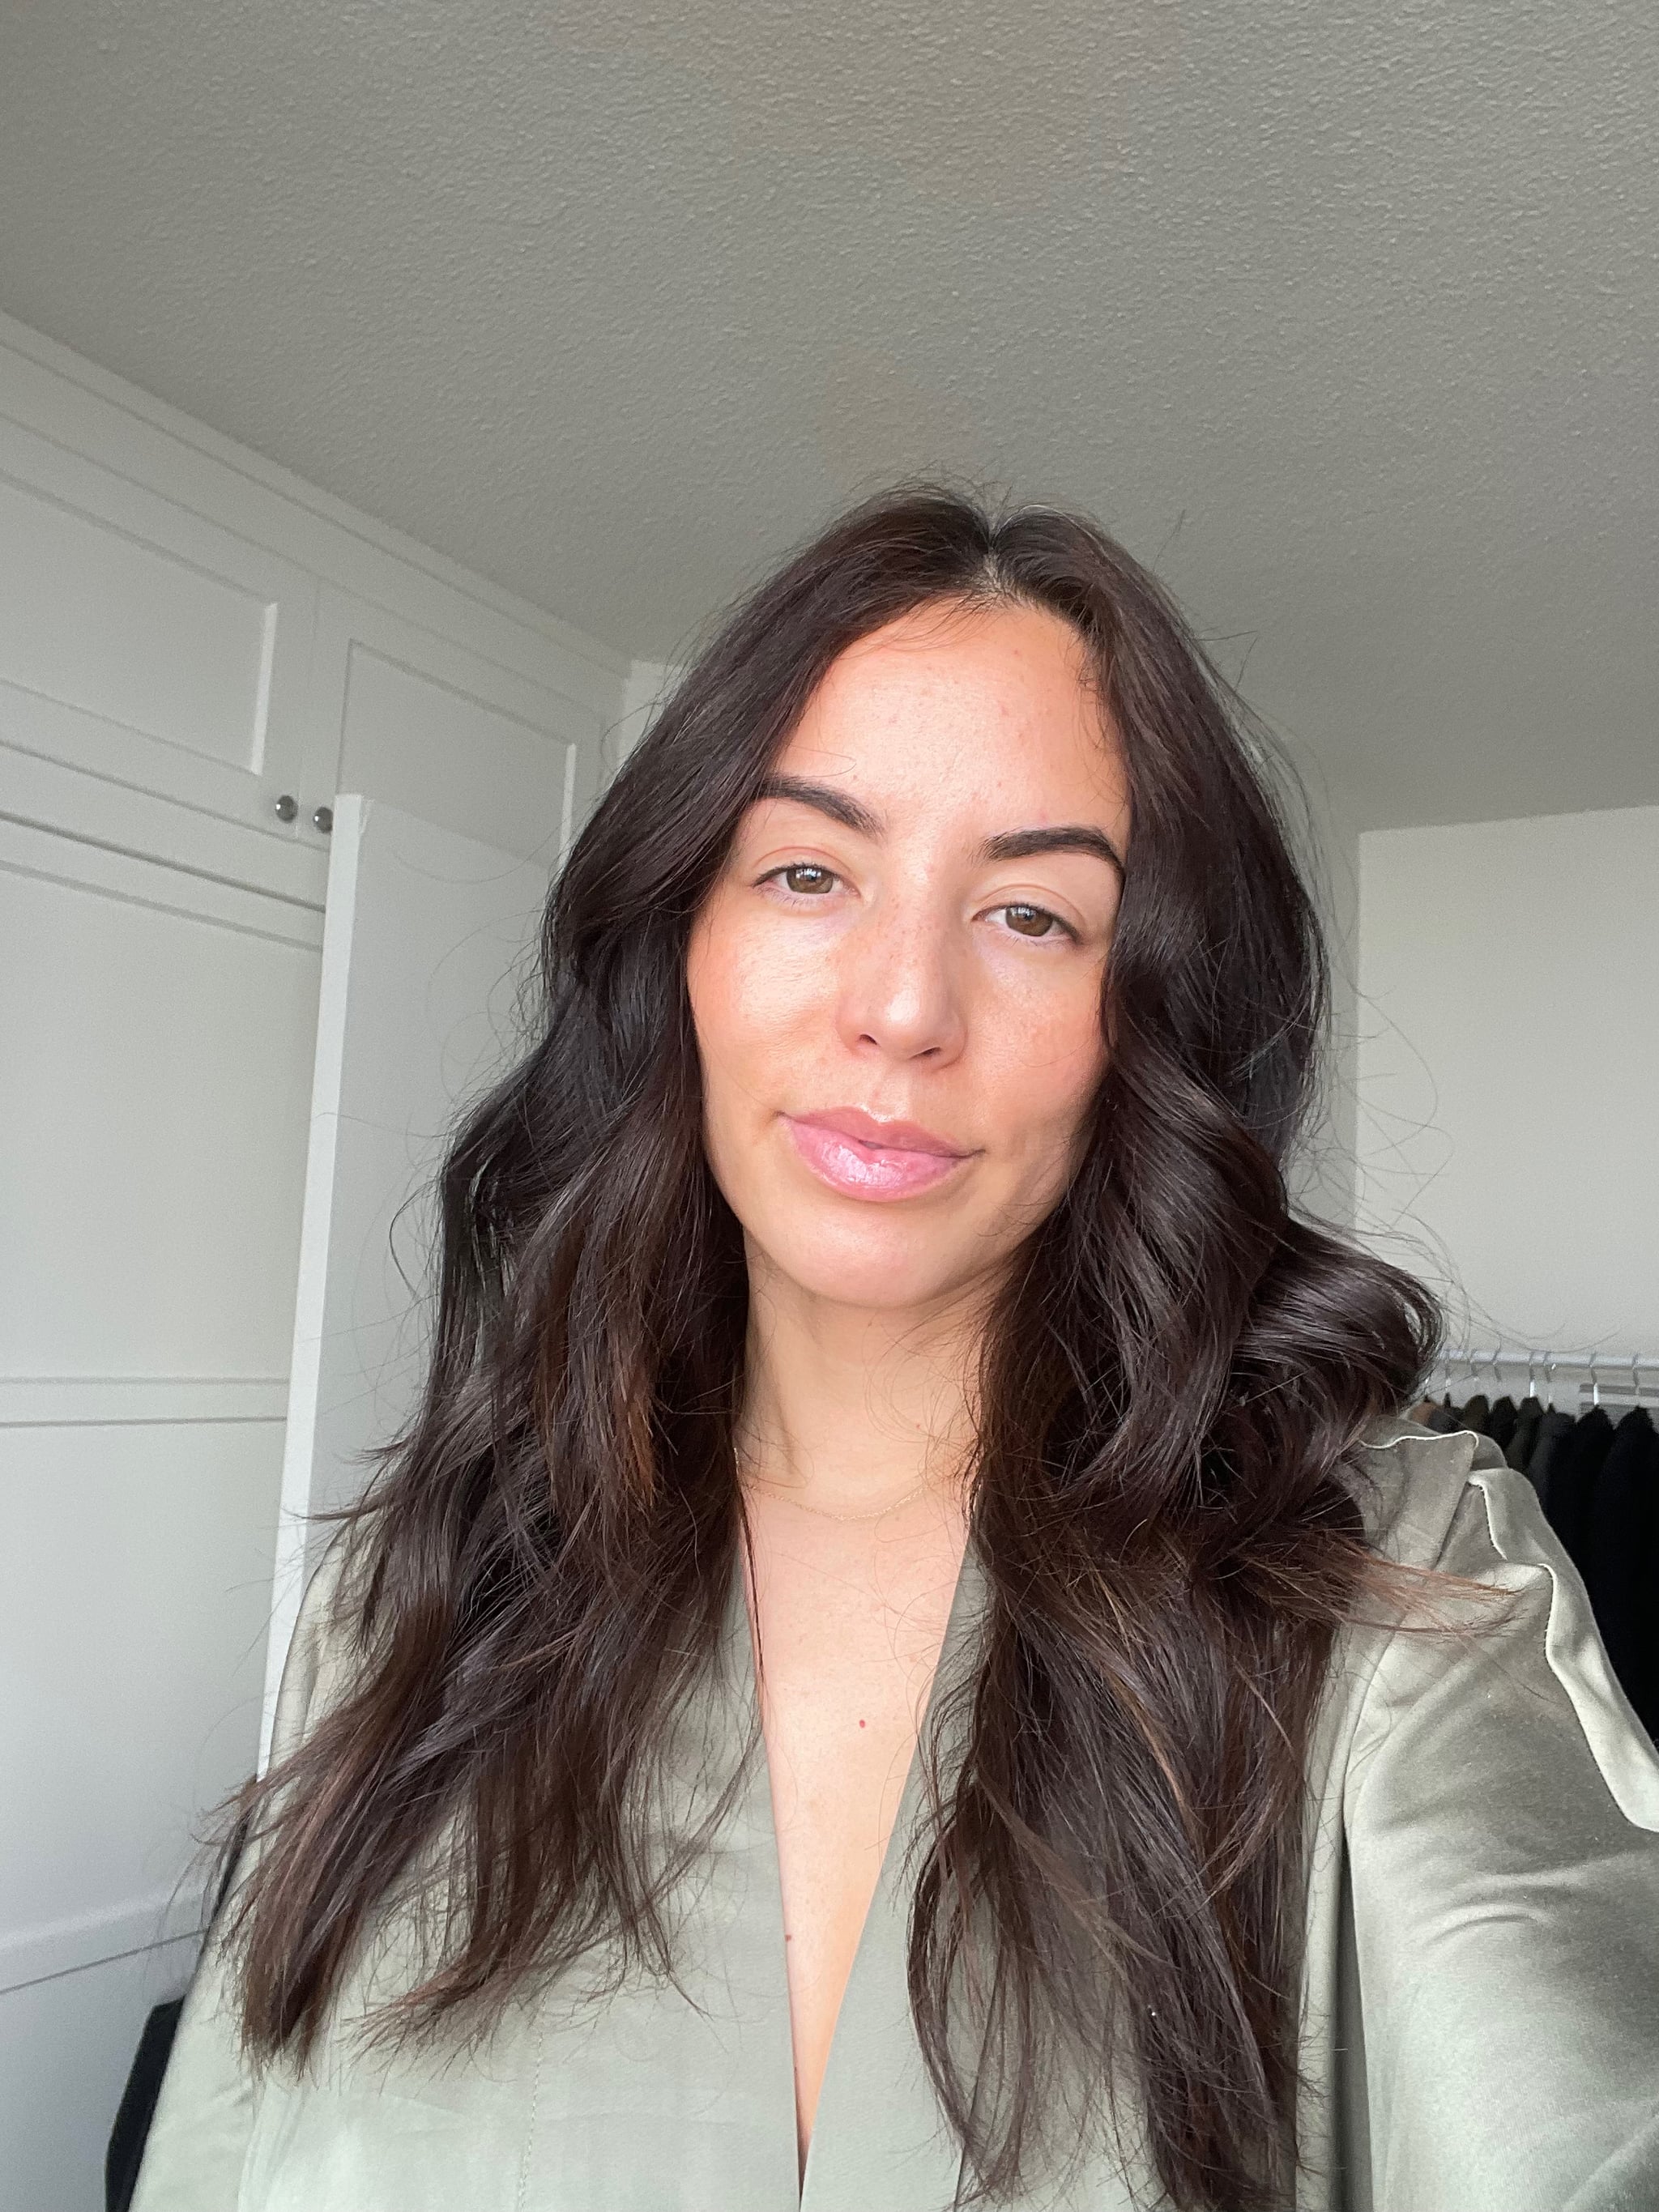
Step 5: Brush Out the Curls: This final step is optional, but depending on how tight you like your curls to be, you can either brush them out or leave them as is. Personally, I like to brush out my curls with either a wide-tooth comb or a paddle brush to give my hair a more relaxed, beachy look.

Source: Read Full Article