One of the many joys of having natural hair is the versatility it affords you. You can do a wash-and-go one day, a blowout the next, and Curlformers a week later.
Speaking of Curlformers, whether you've already tested them out yourself or just watched dozens of YouTube tutorials, these styling tools have been making waves in the natural community for a few years now — and for good reason.
Using a hook and pull-through method, Curlformers can be easier to use than flexi-rods and traditional rollers. And so long as you part your hair evenly, you're pretty much guaranteed seamless results.
But, of course, we're not about to leave you on your own here. We reached out to Candace Witherspoon, stylist and founder of Candace Witherspoon Salon in New York City, to share everything you need to know about using (and loving) Curlformers.
What benefits do Curlformers provide for styling?
While it may take a second to get the hang of it, the hook and pull-through method can be easier (and faster) to do compared to flexi-rod application. Curlformers also won't damage or fry your curls.
"They're a heat-free tool used to create curls on all textured hair," explains Witherspoon. "The biggest benefit is that it provides a long-lasting curl without having to use a curling iron."
But even if you're already suffering through heat damage, they're still a fantastic option.
"Curlsformers are especially great for people who are transitioning through heat damage," says Witherspoon. "It can be a great natural way to create curls without causing more damage."
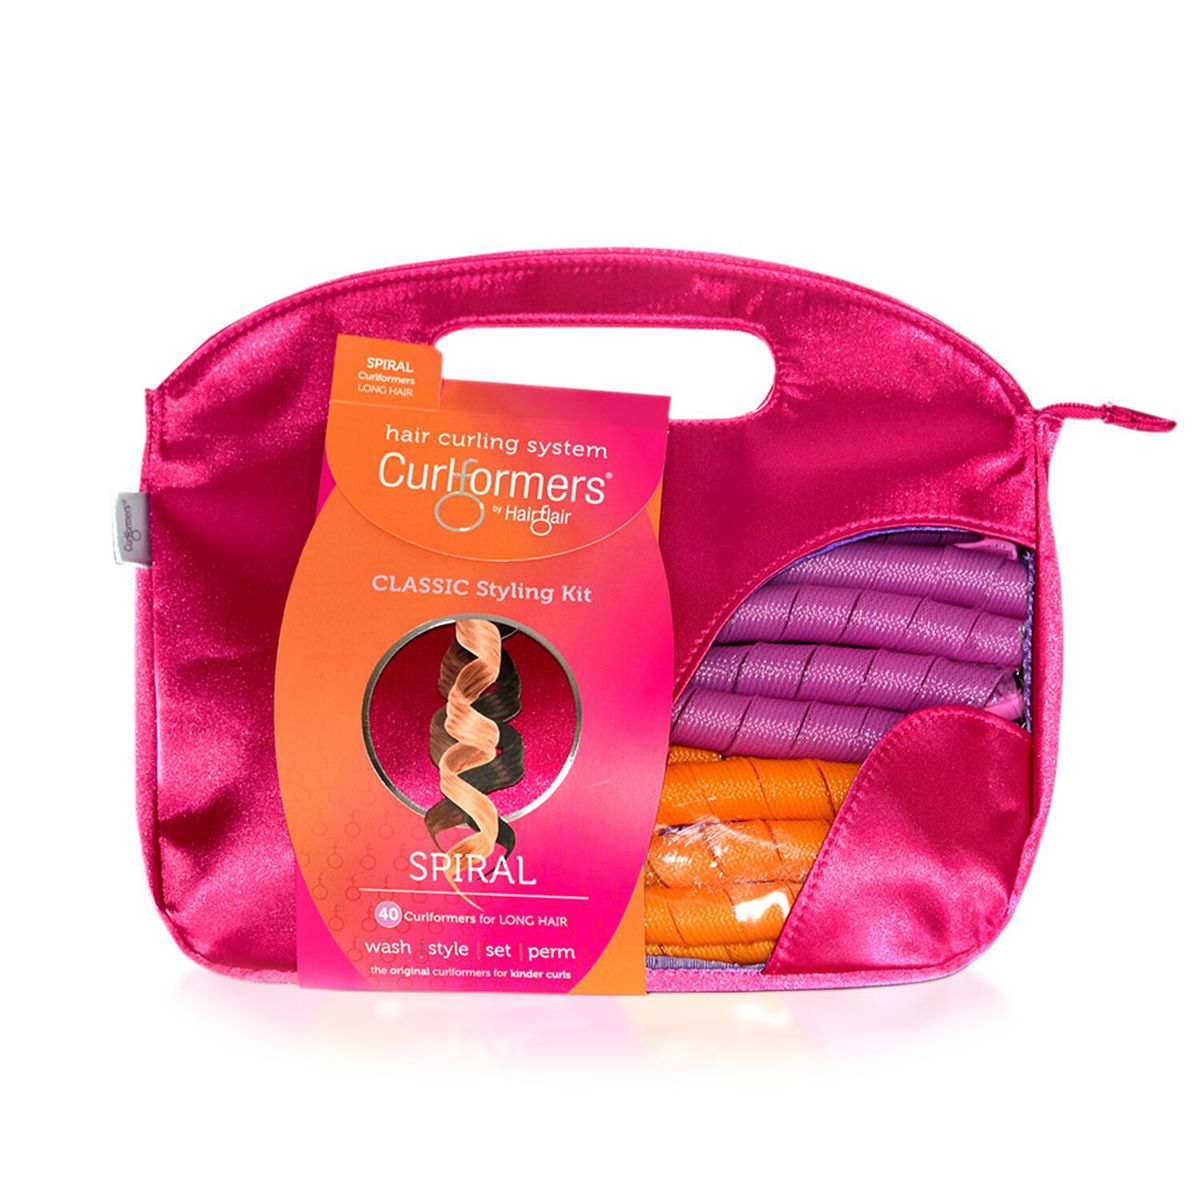
To shop: $73; sallybeauty.com
OK, I need a step-by-step guide on how to use these things.
Great, 'cause we've got one.
Witherspoon recommends starting off with freshly washed, conditioned, and detangled hair. Next, apply your favorite leave-in conditioner and start parting out sections.
"Split the hair into two sections from the top of the head and start working your way up from the bottom," Witherspoon suggests. "Take a small section, starting at the nape of the head, and spray setting lotion and rake through hair with a comb or Denman brush."
Next, you'll want to connect the hook, which can vary depending on the size of the Curlformer. When you're ready to apply the styling tool, start off by twisting your hair at the root, then placing the hook on the hair.
"Hold the Curlformer and pull the hook down, then work your way up in small sections until the whole head is done making sure the sections are consistent," says Witherspoon.
Once you're done, allow the hair to air dry (but you can also go under a hooded dryer for an hour or two), then gently pull each Curlformer off, one-by-one.
"Pick at the roots for extra volume," the stylist adds.
Can Curlformers be used across all hair types?
Absolutely! However, the results may vary a little bit depending on your natural texture.
"If a client has wavy hair, she might not get as much volume as someone with a tighter 4C texture," Witherspoon explains. "I don't think any textures are more prone to frizz, but if you're not using the right size or don't wait until curls are completely dry, you will have a lot of frizz."
VIDEO: Twitter Is Coming For the Emmys After the Hairstyling in 'Black Is King' Was Snubbed
Some people complain that Curlformers can pull and tug on the hair — is there a way to prevent this?
While it may be hard to do depending on your schedule, Witherspoon recommends not sleeping in Curlformers. Also, the way in which they're applied can make a world of difference.
"When removing from hair, be gentle," she advises. "And make sure your sections are clean and neat when applying."
This is All Natural. From the kinkiest coils to loose waves, we're celebrating natural hair in its many forms by sharing expert tips for styling, maintenance, and haircare.

Source: Read Full Article