Written by Alex Sims
Our pets are our world, so it’s no wonder more and more of us are using pet portraits to declare our affection for our animal pals. Make one yourself with this guide from Wild Life Drawing’s Jennie Webber.
From pug cafes and dachshund discos to feline influencers with hundreds of thousands of followers, it’s clear that we are a nation of animal lovers. In fact, we love pets so much, 3.2 million UK households acquired a pet during the pandemic, bringing the number of pet-owning homes in the country to 17 million, according to the Pet Food Manufacturers’ Association.
It’s no wonder we’re puppy-eyed for our furry friends; research shows that just stroking a pet can lower our blood pressure, reduce stress and lift our mood. So, it’s only fitting we’ve started to draw our pets for posterity.
Pet portraits have been having something of a resurgence in recent years. Pets were a huge feature of Renaissance art, with artists from Andrea Mantegna to Leonardo da Vinci transferring cuddly forms to oil paintings. More than 500 years later, pet drawings are on the rise again with over 868 million views for #petportraits on TikTok.
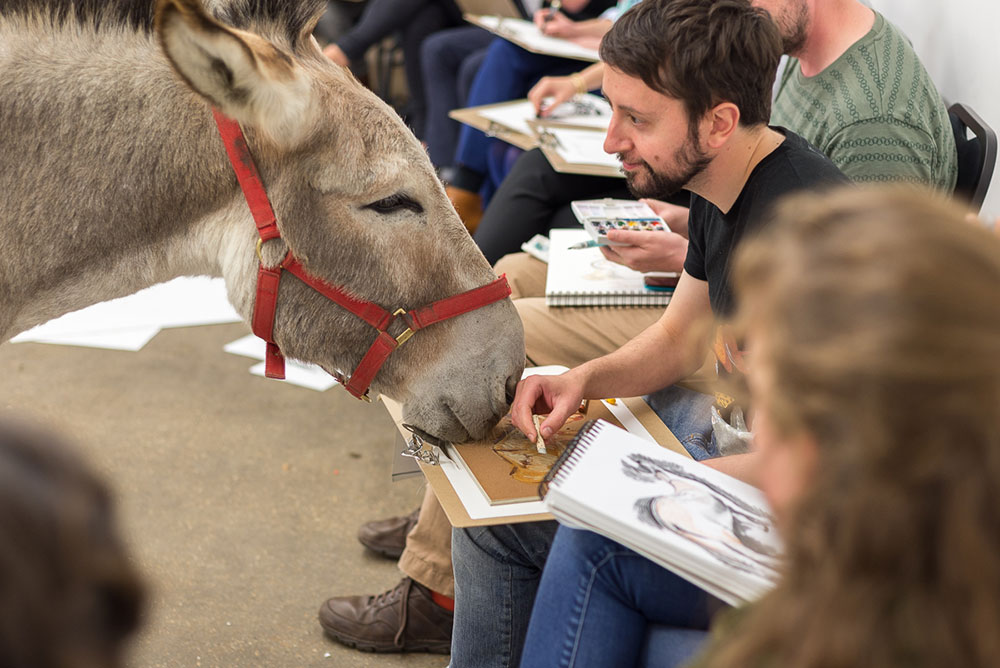
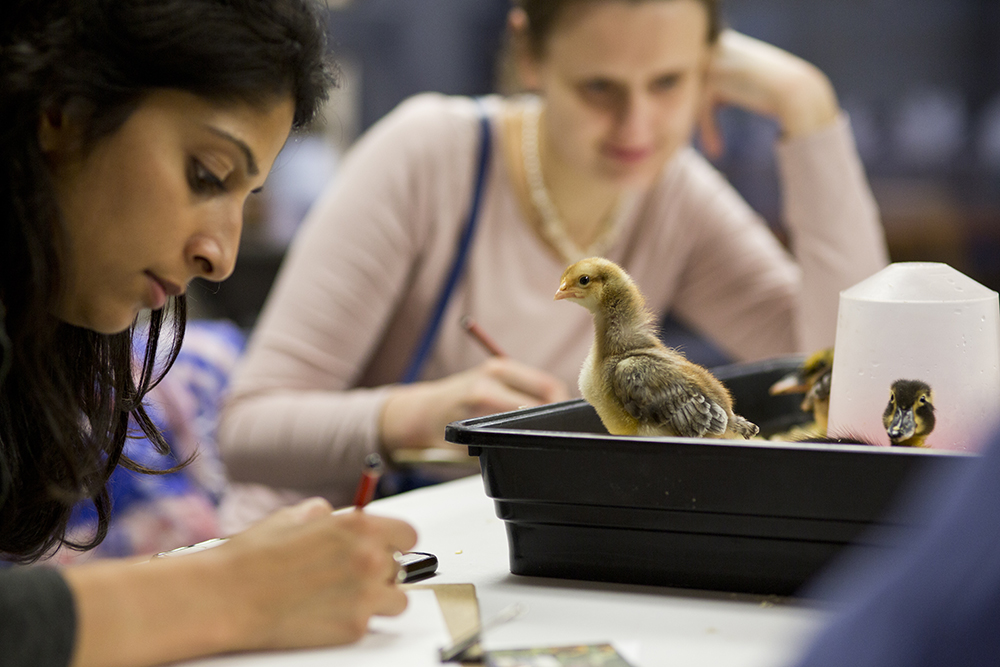
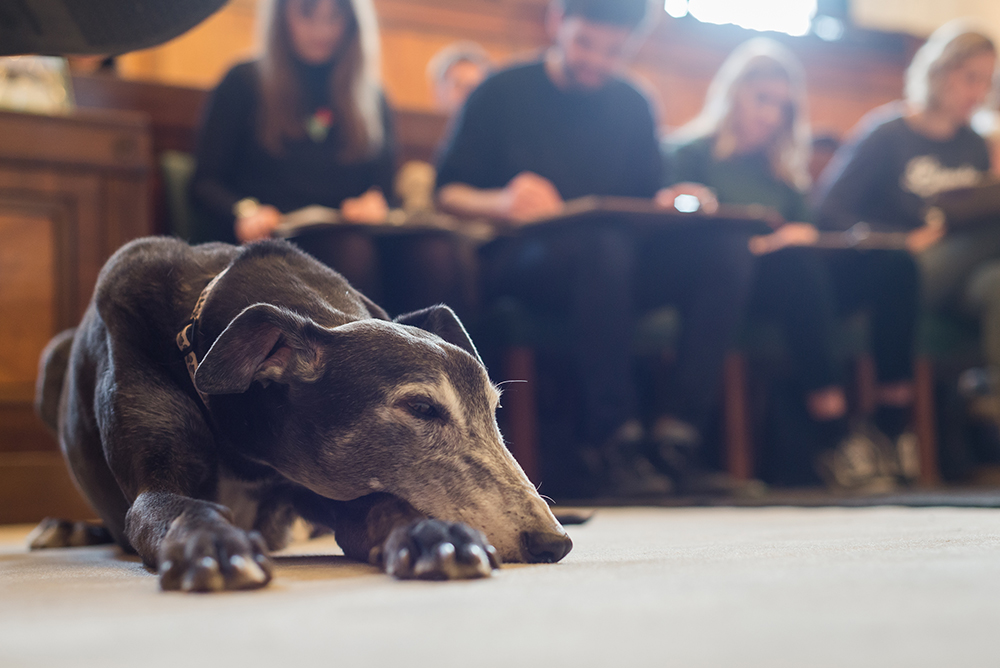
One woman who knows a thing or two about drawing animals is Jennie Webber, who runs one of the only life drawing classes where it’s acceptable to call the model chonky. At Wild Life Drawing, real animals – from penguins to bearded dragons– fill in for models to give attendees the chance to sharpen their sketching skills while learning about the creatures in front of them.
“People come along to hone their creative skills certainly, but hanging out with animals is good for the soul. So, it’s a really amazing way for people to switch off and relax for a little bit,” says Webber, who studied fine art and illustration before launching Wild Life Drawing in 2014.
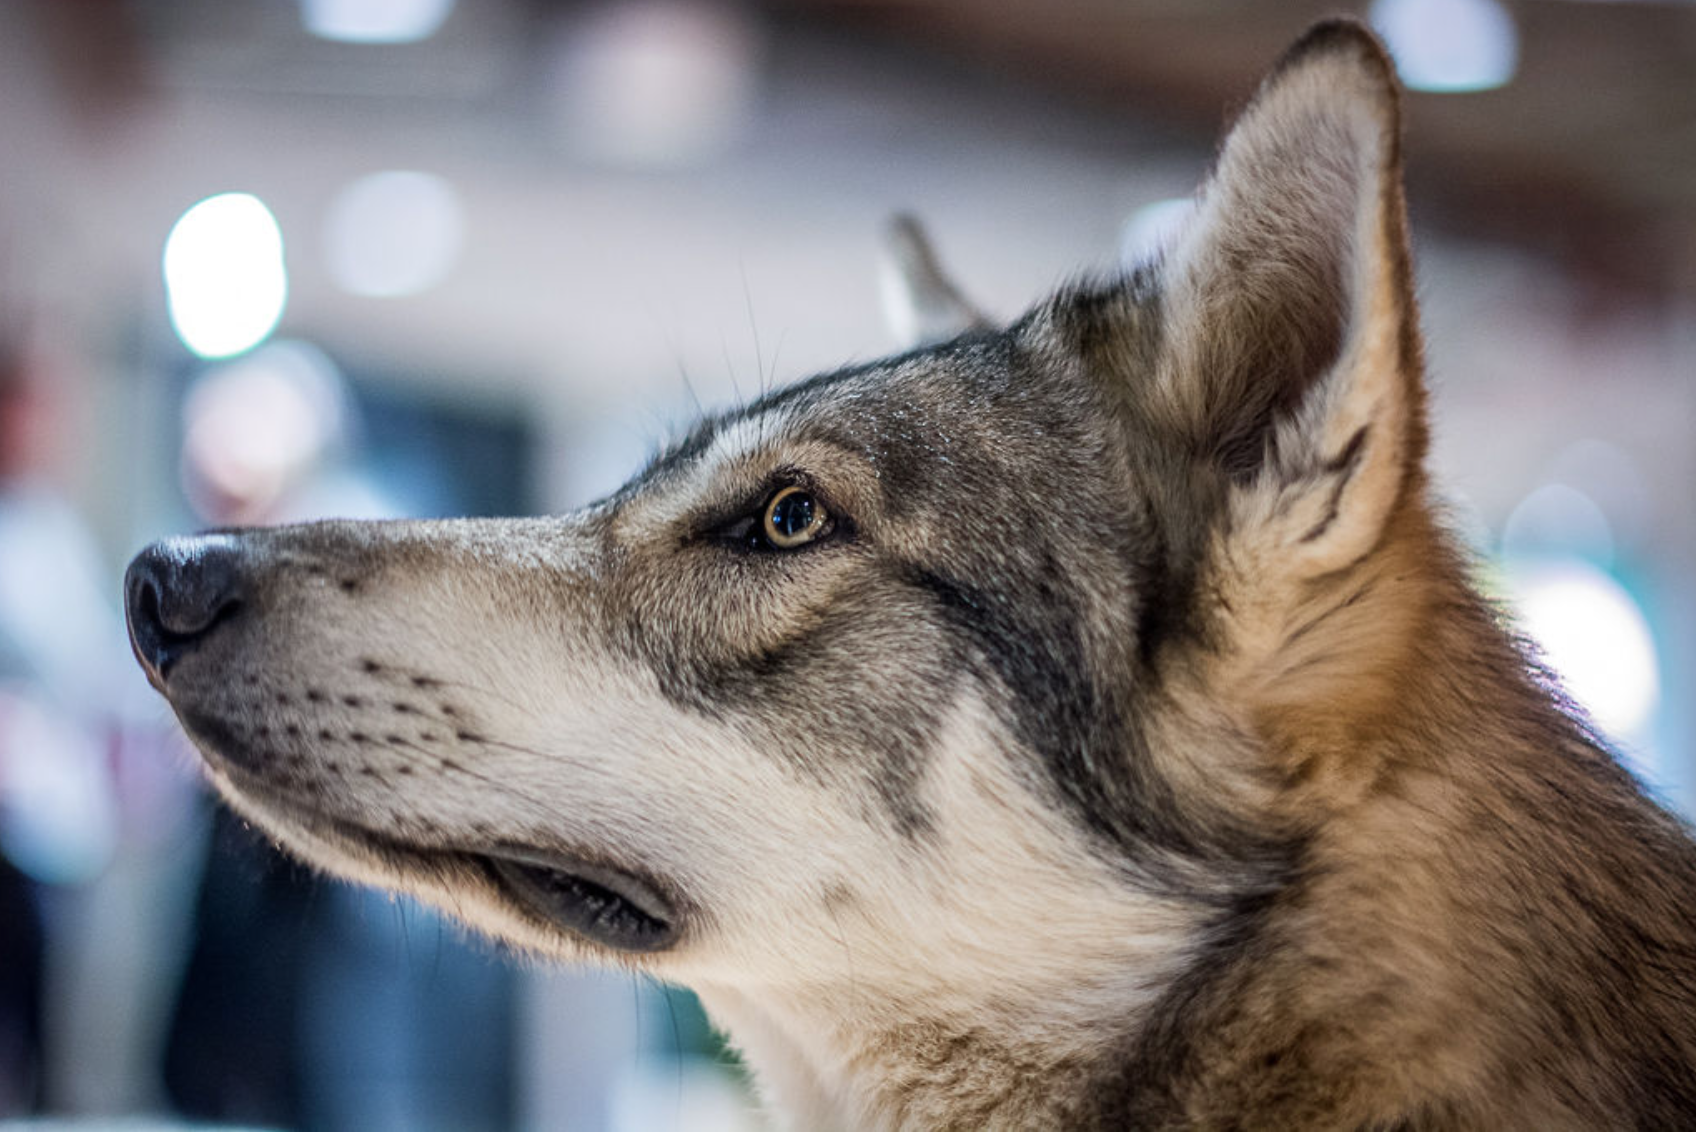
Handlers are present at each class to keep the animals calm and explain the conservation issues affecting them. “It’s a way for people to reconnect with nature,” says Webber. “Sometimes, people come to our miniature pig classes and leave vegetarian.”
Even if you don’t think you’re particularly artistic, don’t let that stop you. “I really, really believe that everyone is an artist,” says Webber. “We all see the world in a slightly different way and the fact that everyone has their own unique approach is one of the most beautiful things about drawing.”
If you want to admire your own cat, dog, chinchilla or gecko in pencil form, follow Webber’s tips to create a beautiful animal drawing – no matter how nimble you are with a pencil.
What you’ll need to create a pet portrait
One of the great things about creating a pet portrait is that you don’t need any specialist equipment. “All you really need is some paper and a pencil,” says Webber. “Even the back of an envelope will work.”
Other than that, an eraser is a very useful piece of kit and a pencil sharpener is essential. “If you want a broad mark for some shading or a neater mark to add smaller details, it’s good to have a nice sharp pencil,” says Webber.
If you are interested in buying specialist art supplies, Webber recommends a harder 2B pencil for your initial sketches, and then a softer 4B for shading and tone.
A step-by-step guide to creating a pet portrait
Plan the structure of your drawing
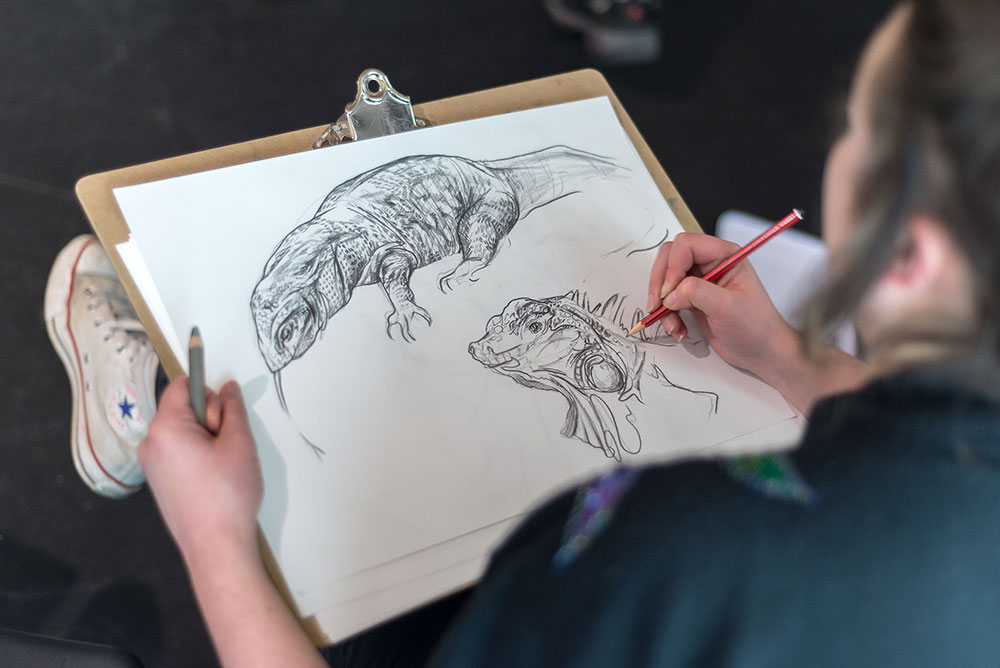
You’ll probably have trouble asking your model to hold a pose, so it’s best to be quick and brave when you put your initial marks on paper. Webber suggests beginning with a basic plan of your pet, that way you’ll have enough of the animal’s structure down if it does decide to move around.
“I break the animal down into simple shapes and lines,” says Webber, who usually starts her sketches with a circle for the head. If you’re drawing a vertebrate (an animal with a spine), she also draws a ‘spine line’ running from the tip of the nose, all the way over the head, right to the tip of the tail. “That’s a really good way of getting the length and structure of your pet down,” she adds.
Pick out the muscles and joints
After this, it’s good practice to pick out the muscle structure with some simple oval shapes: “These are often around the shoulders, the hind legs, and the belly,” says Webber.
Then plot out the joint structure by using little lines and dots to mark where the knees and wrist joints are. “It’s really helpful to think about the anatomy underneath the fur or the feathers, so you can really get the shape down properly,” Webber adds.
Mark out the face
When marking out the face of an animal, Webber likes to make a ‘face cross’, or a horizontal line that goes over the eyes, and a vertical line going over the middle of the forehead and down the nose. “That’s a really good way making you animal’s face symmetrical.”
Get your proportions right
Getting the proportions of your animal right is key for creating a quality pet portrait. An easy trick to do this is using what you’ve got down on paper as a measuring tool. Webber suggests using your face circle as a guide: “If you take your head circle and then measure out the length of the body as three head circles, that’s a good way of getting the right proportions.”
You can use the same method for measuring out the legs and to measure out the width of the belly. Once you’ve got a plan down and you’re happy with your proportions, it’s time to add in the detail.
Fill in the details
When you’re adding texture to your drawing it’s important to pay extremely close attention to every aspect of your pet’s coat or skin.
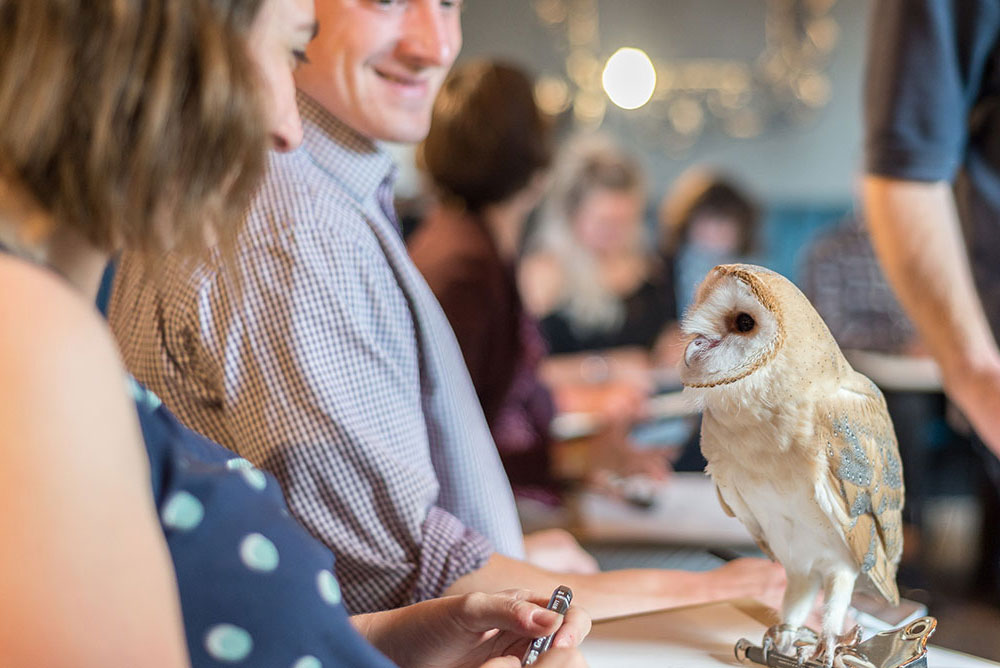
“If something has scales, feathers or fur, there’s a good chance the texture will be different in certain areas,” says Webber. “If you’re drawing a bird of prey, for example, they might have soft downy breast feathers and then firm, rigid wing feathers, so you’ll want to emulate the different textures with the marks you make.”
Use your pencil more lightly for softer areas, and make your lines harder and darker for more rigid areas.
It’s also important to make sure your pencil is going in the same direction as the scales, fur or feathers you’re drawing. “If it’s sticking out at the top, my pencil’s going up,” says Webber. “If it’s following the line of the back towards the tail, that’s the direction my pencil marks are going in.”
Capture your pet’s character
Capturing the character of your pet will make your portrait sparkle, and because you know your pet so well, you have an advantage.
“A lot of an animal’s character stems from the eyes, so it’s really important to get them right,” says Webber. “Everything around the eyes is really important to get across your pet’s expressive face; the little muscles, the brow and the lid.”
Body language is also important for conveying character. “If you want to draw an animal that’s a little bit cheeky, you might draw them hiding behind something or turning around over their shoulder,” adds Webber.
Expert tips for creating a perfect pet portrait
Observation is key
“One of the best pieces of advice for beginners is just to really look at what you’re drawing,” says Webber. “Trust your eyes, only draw what you can see and really notice those little details that will make all the difference.”
A common mistake beginners make is drawing what they think an animal looks like. “If you draw in an eye or an ear you can’t actually see from that particular angle it will end up looking a bit weird,” says Webber.
Create a tonal scale
“I always encourage people to make a little tonal scale at the side of your paper,” says Webber. To do this, make a little square and fill it by pressing your pencil as hard as it will possibly go on the paper. Adjust your pressure all the way through the shade right through to the white of the paper.
“When a drawing has everything from the darkest tone your pencil is capable of, all the way to using the white of the paper as your highlight, it will look really dynamic and interesting.”
Take reference photos
It’s worth taking a few reference photos you can look back on as your draw, especially if you want to draw your pet in a certain position.
“If your pet moves, or the doorbell rings, it means you can fall back on that photograph to help you out,” says Webber.
It might take more than one drawing
Always be prepared to make a couple of different drawings before you land upon the perfect portrait. “I often need to get warmed up, sometimes that’s by doing three or four sketches,” says Webber. “The more you draw, the more details you remember, and the better your drawings get.”
Images: Wild Life Drawing/Jennie Webber
Source: Read Full Article